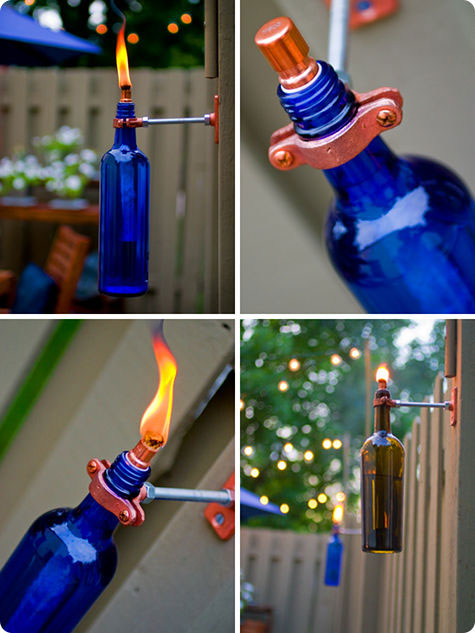
If you are looking for a way to light an outdoor area or your garden, we have the most economical solution!
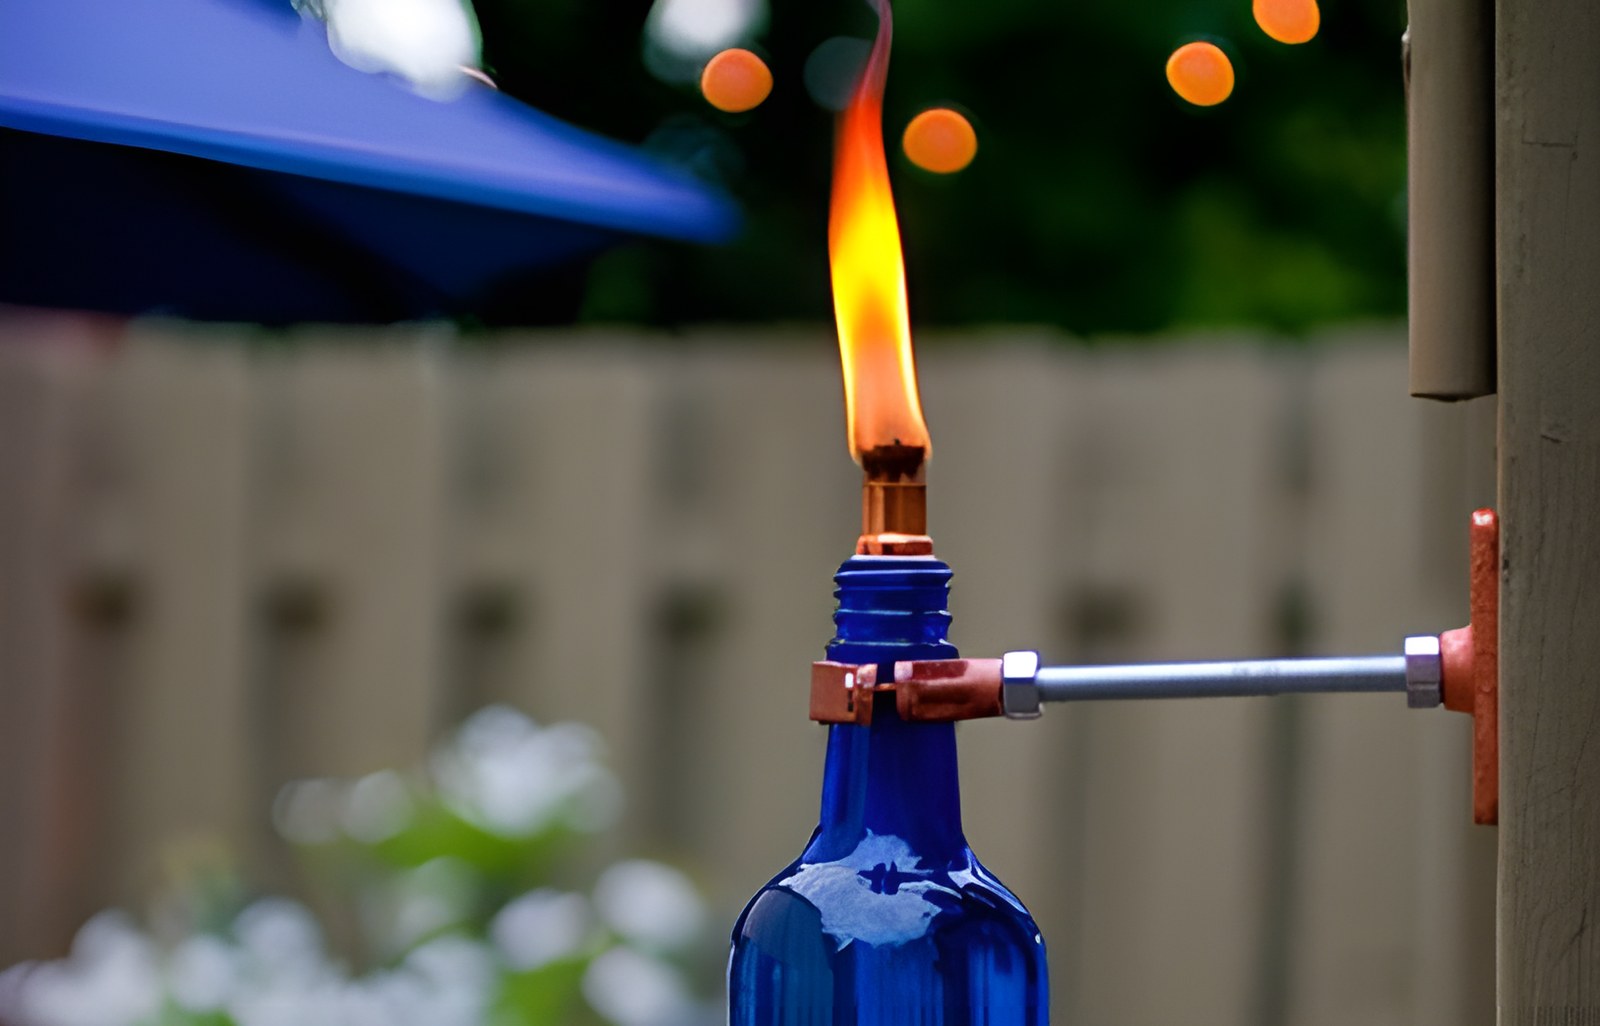
A clever idea that is easy to put into practice is to make a homemade oil lamp from old glass bottles.
So make use of all those bottles you have been saving up for recycling. Choose different colors and shapes to create a visually striking result.
Follow the steps of this project, which we found on designspongeonline.com.
You can get the materials from a paint shop or a plumbing supplies store:
WHAT YOU WILL NEED:

(1) empty glass bottles (any glass bottle with a Φ25mm neck opening)
(2) 1.5 cm Teflon tape
(3) Φ10mm copper connecting plate
(4) Φ25mm copper pipe clip
(5) Φ15mm copper coupling, 1 cm long
(6) Φ15mm copper cap
(7) 2 Φ10mm hex nuts
(8) 2 stainless steel wood screws (if you are not fixing into wood, get screws suited to the surface you will be screwing into)
(9) 12 cm Φ10 metal threaded rod
(10) oil lamp wick
oil lamp fuel
INSTRUCTIONS:
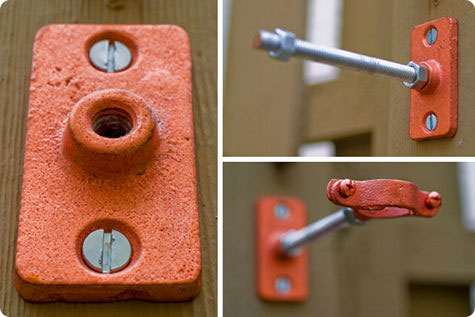
1. Prepare the mounting base. Decide where in your outdoor space you want to place the oil lamp and screw the copper mounting plate into place using the stainless steel screws. Screw in the threaded rod until it fits snugly, then thread on the two nuts. Tighten one nut firmly where the rod meets the mounting base, and the other at the end where the pipe clip will be screwed on. Screw on the clip and secure it in place by tightening the nut behind it.
2. Prepare the bottle. Wrap one end of the copper coupling with Teflon tape until the coupling fits snugly in the neck of the bottle. Thread the wick through the coupling, leaving about 1 cm sticking out.
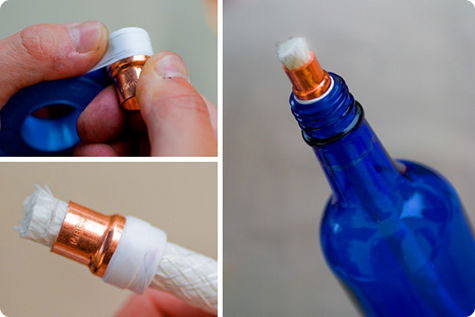
3. Loosen the screws on the pipe clip, slide the neck of the bottle through, and tighten the screws again until the bottle is held firmly in place.
Fill the glass bottle with oil lamp fuel using a funnel, then insert the wick, pressing the coupling firmly into the neck.
Wait a few minutes for the wick to absorb the fuel, and your lamp is ready to light. When the lamp is not lit, use the copper cap to keep the wick dry.